TURN ONE
I sent my forces in a general advance all along the front while Maurice sent forward his right flank but held back the Bavarians on his left.
 |
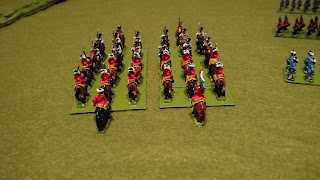
| Looking from behind the Bavarian Kurprinz Foot. Close together in the middle distance are the British grenadiers and the Royal Foot, who have King George with them |
On the extreme right, from the Franco-Bavarian perspective, the first melee was fought when the two hussar squadrons clashed, each reducing the other by 50 percent.
 |
| The first melee involves the Austrian Csáky de Keresztszegh and French Bercheny Hussars. The figure of Maurice can be made out near the centre of the photo with the blue-uniformed Cuirassiers du Roy |
Easily the most significant event of this turn was the big cavalry melee on the French right flank.
 |
| The cavalry clash, and the infantry prepare to exchange volleys |
But the clash of heavy cavalry was disastrous to the Pragmatic cause - the Hanoverian Von Aldeleben Dragoons were cut down and sent packing by the Cuirassiers du Roy while the King's Own Horse were completely wiped out by the Colonel General Cavalerie, who suffered no loss of their own.
 |
| My left-wing horse have all but disappeared, leaving the foot looking very vulnerable |
The bloody hussar melee finally resolved itself...with both squadrons eliminated.
Meanwhile the superiority of British musketry asserted itself on my left flank, while Maurice on his left prudently chose not to order his Bavarian foot to open fire on my advancing infantry as my battalions would have been entitled to fire back despite having moved.
Finally, on my extreme right, the Modena Cuirassiers and Bavaria's Hohenzollern Dragoons - old enemies from our version of the Battle of Blasthof Bridge - came to blows, with the Austrians getting much the better of the first round of meleeing, eliminating one enemy squadron.
 |
| Close-up of the red-coated Hohenzollern Dragoons taking on the Modena Cuirassiers |
Pragmatic Army: two (hussars and King's Own Horse)
Franco-Bavarians: three (hussars, Picardie Foot and one squadron of Hohenzollern Dragoons)
TURN FOUR
 |
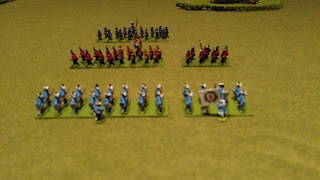
| A bird's eye view from behind the Pragmatic lines at the start of the fourth turn |

No comments:
Post a Comment