 |
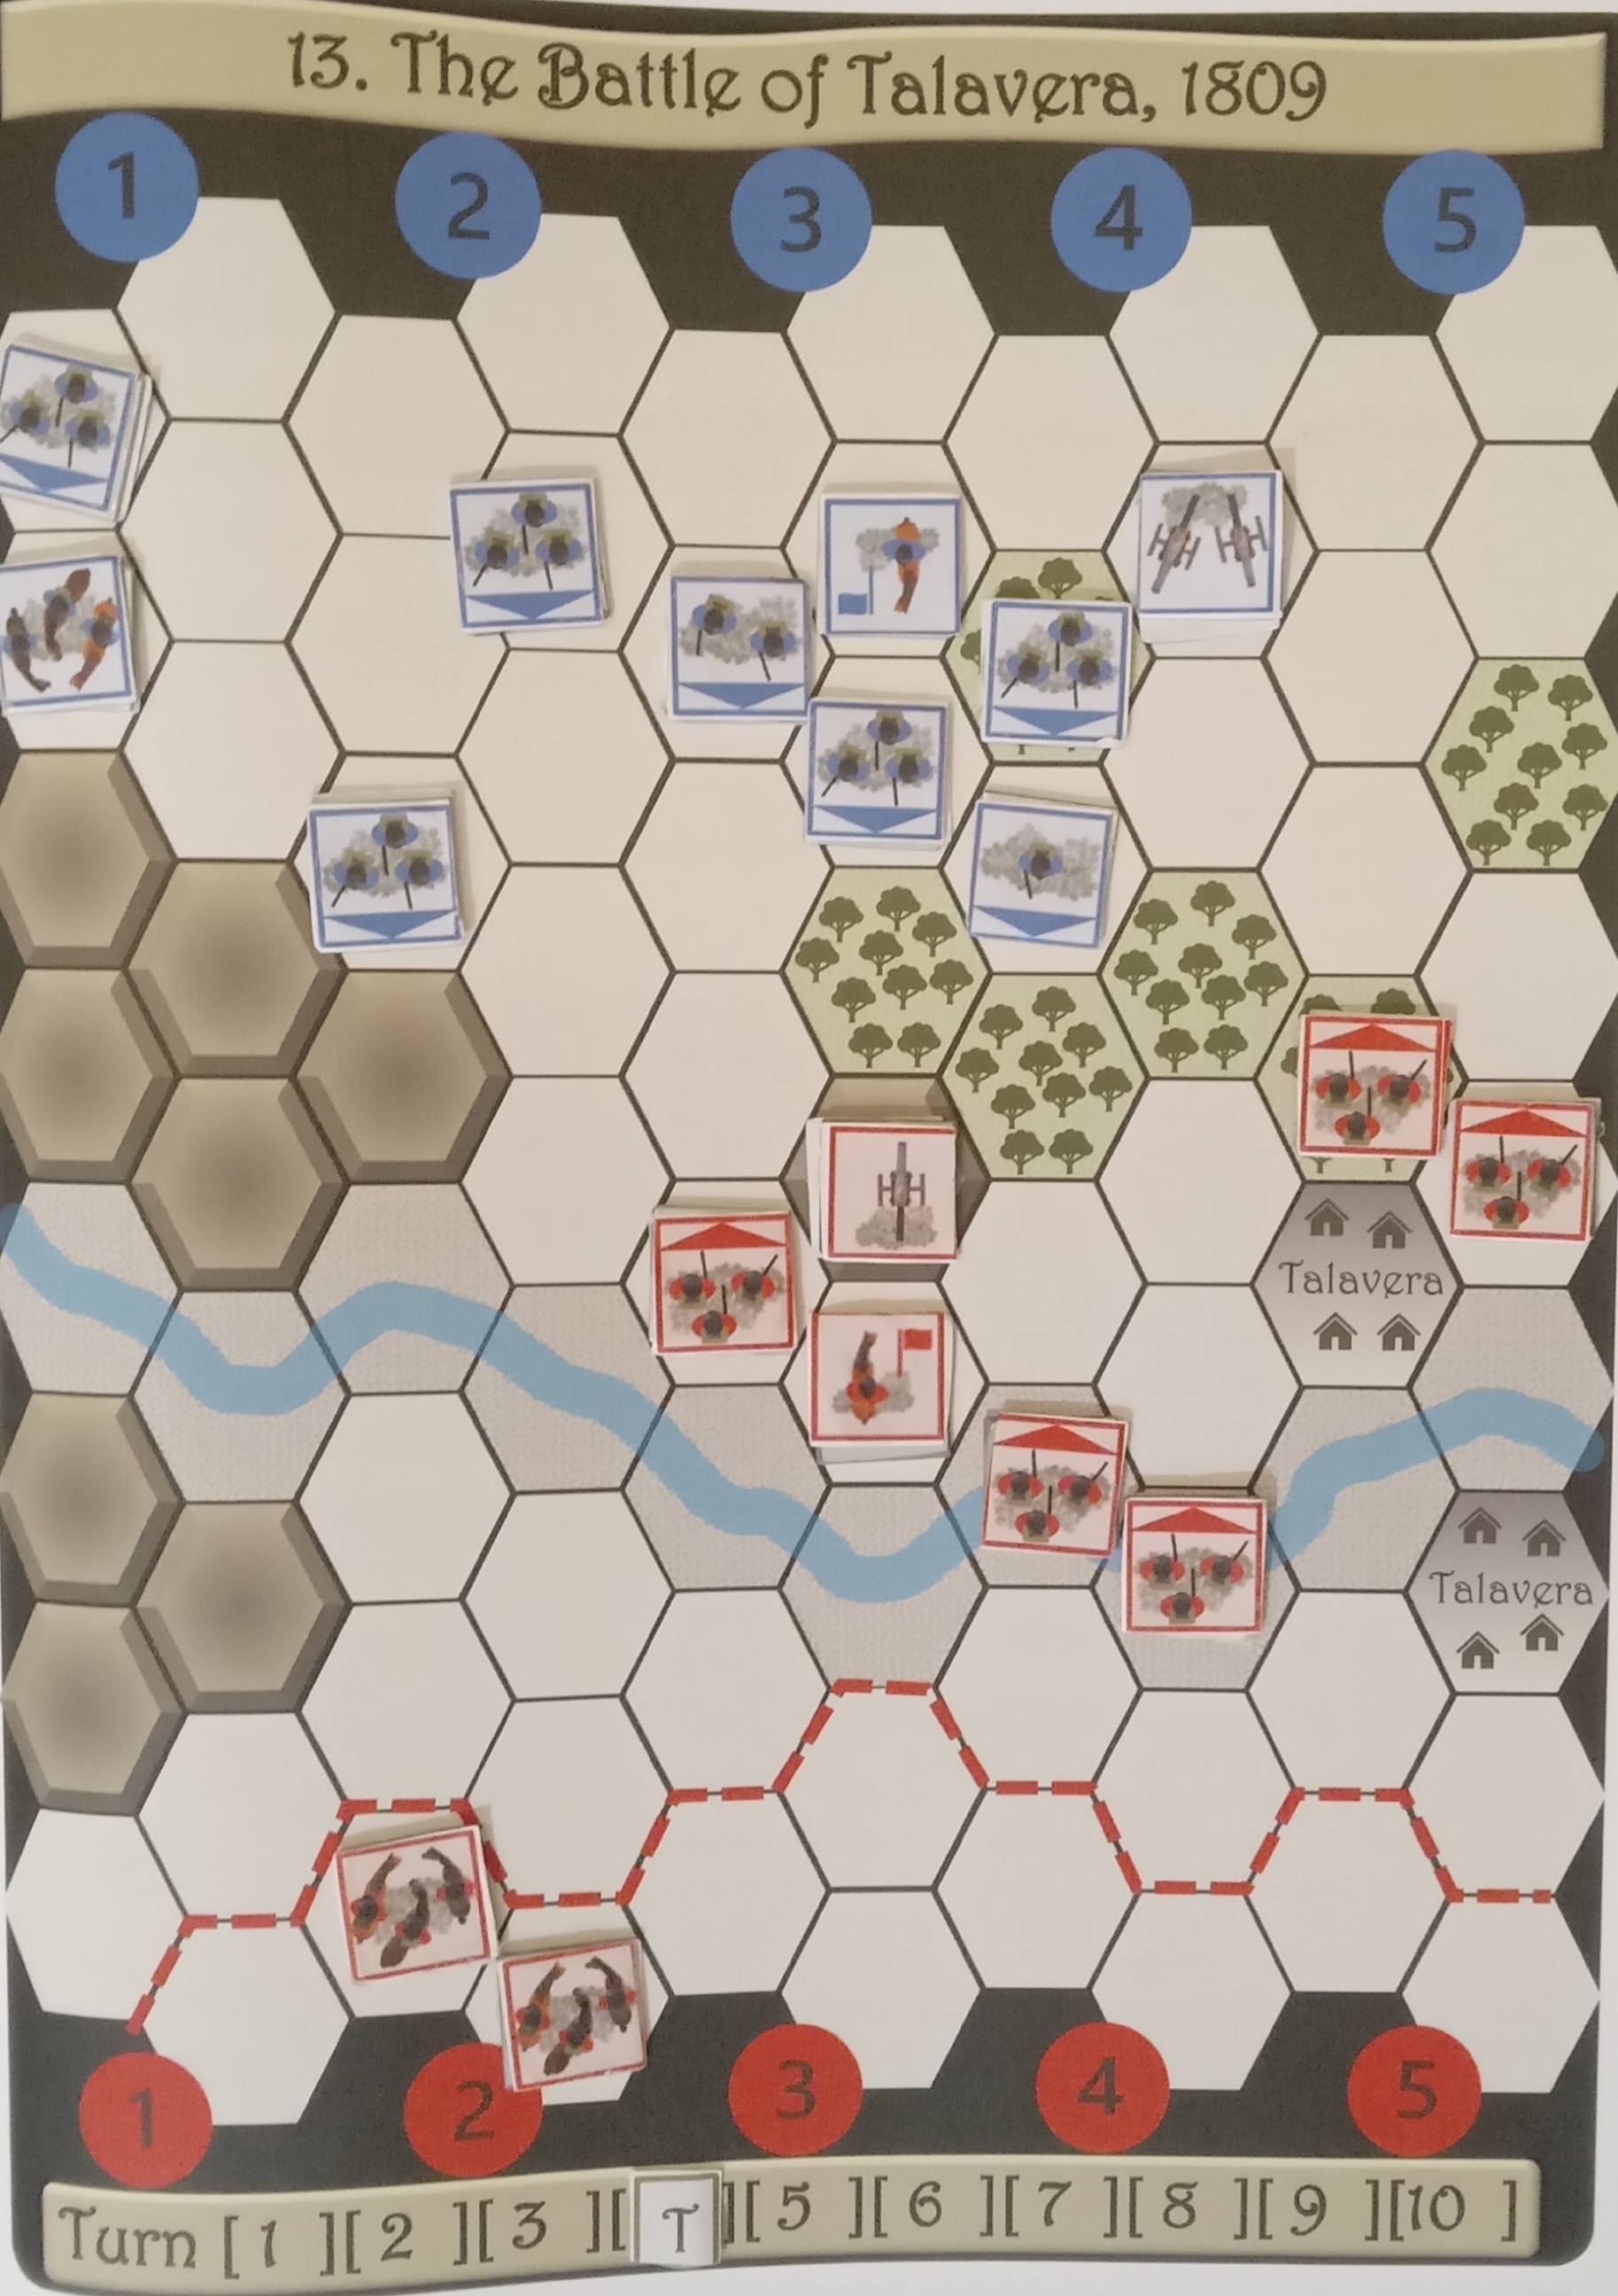
| Situation at the end of turn four |
I turn the wildcard 6 into 2, and advance my cavalry two squares obliquely right, so they are both in area 3 and cannot be fired at this turn.
The further-back infantry in area 4 advance and fire at the one-strength French infantry, their four dice being decreased for moving, for being in a river hex and for the target being in cover. The result is 3. The other infantry in area 4 fire at the same unit. The four dice are decreased for being in a river hex and for the target being in cover, but increased for being next to Sir Arthur Wellesley. I roll 6, 3 and 1, eliminating the French unit. My infantry in the trees fire at the French artillery, rolling 4 and 1, forcing the French back to the edge of the battlefield. My right-flank infantry advance and fire at the French to their left, the four dice being reduced for moving and for the target being in cover. I roll 5 and 4, reducing the French to two-strength, but not forcing them back as the French commander cancels 4s.
 |
| Will the Allied cavalry ride to my rescue? |
In area 2 only the further-back unit advances.
In area 3 the froward infantry do not have line-of-sight to Sir Arthur Wellesley, as he is sheltering behind high ground, so they fire at my two-strength infantry. The four dice are increased for being next to the French commander, but decreased for the target being in trees and for firing through trees. The result is 3 and two 1s. The other infantry stand still and so does the French commander.
In area 4 the infantry fire at the further-up target, their three dice being increased thanks to the commander. They roll 5, two 4s and 1, reducing my unit to two-strength and sending it fleeing into the River Tagus. The artillery fire at my infantry in their line-of-sight, the three dice being reduced for firing through trees. The result is two 6s, reducing my unit to one-strength.
 |
| Halfway through, and the French look comfortable |


.jpg)


.jpg)


