|
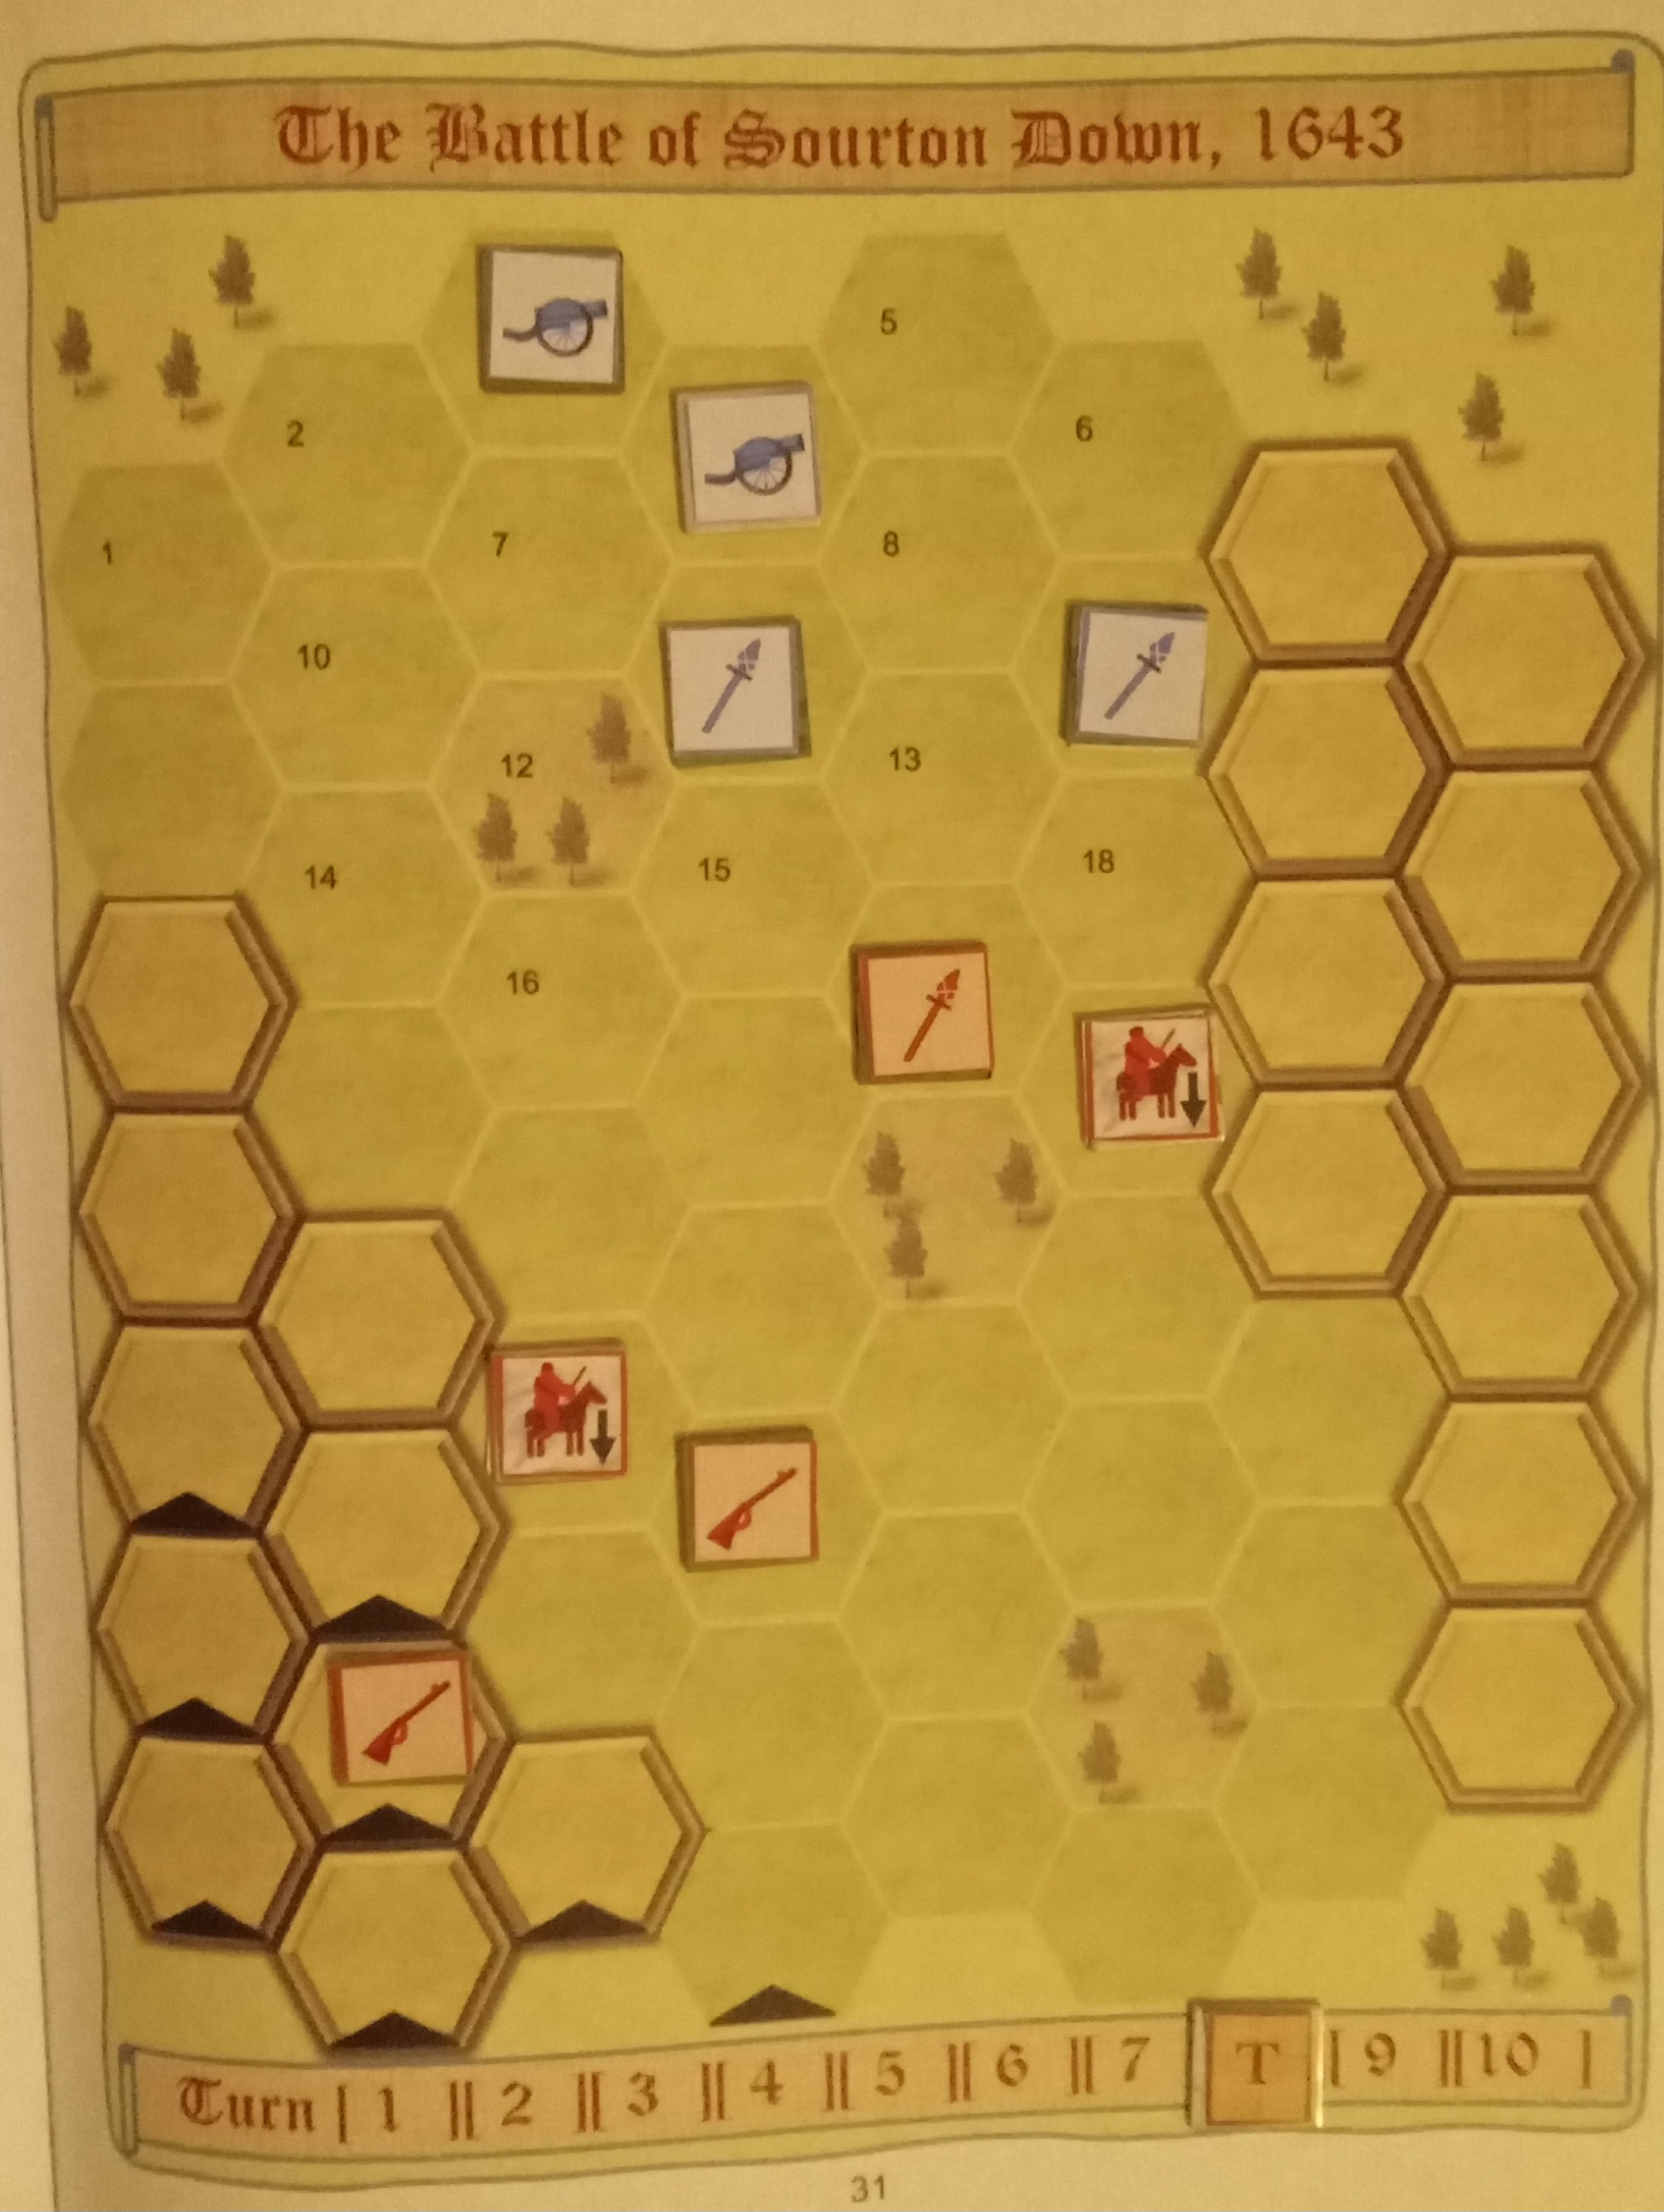
| Situation at the end of turn three |
My seven dice give a 5, a 4, four 3s and a 2. I allocate the 5 to the right-flank muskets, and give move orders to all the other units, apart from the pikes.
I start by sending the horse in front of the muskets to charge the Parliamentarian horse, requiring 4+ thanks to support from the muskets and the rest of the horse, all of whom could charge the same enemy unit. I roll 7, demoralising the Parliamentarians and forcing them to flee to the edge of the battlefield.
The muskets unfortunately no longer have a target - I should have shot with them first - but I send the horse in the trees to charge the nearest Parliamentarian muskets, requiring 4+ thanks to support from two cavalry units. I roll 5, demoralising the musketeers and forcing them to flee to the edge of the battlefield.
I then charge the left-flank Parliamentarian pikes, needing 7+ thanks to two units of support, and that is exactly what I roll, demoralising the pikes.
My remaining units advance, obliquely to the right.
 |
| The Parliamentarian left flank is in danger of collapsing |
The AI fails to rally its horse, which promptly flee the battlefield.
The forward musketeers fire at the nearest cavalry, requiring 8+ thanks to support from pikes, but roll 5.
The furthest-right muskets fire at my furthest-forward horse, needing 8+ thanks to support from another unit of muskets. They roll 9, demoralising my horse and forcing them to flee a hex.
The undemoralised muskets in trees fire at my furthest-left horse, needing 7+ thanks to support from pikes and from muskets, which have moved from the right. They roll 8, again demoralising my horse and forcing them to flee a hex.
The demoralised muskets fail to rally and so exit the battlefield.
The undemoralised pikes charge my furthest-forward horse, needing 4+ thanks to support from three units of muskets. They roll 11, and my horse flee the battlefield.
The demoralised pikes fail to rally, fleeing to the edge of the battlefield.
 |
| The Royalist cause has suffered a significant setback, perhaps the result of me advancing precipitately |