|
| Situation at the start of turn 11 |
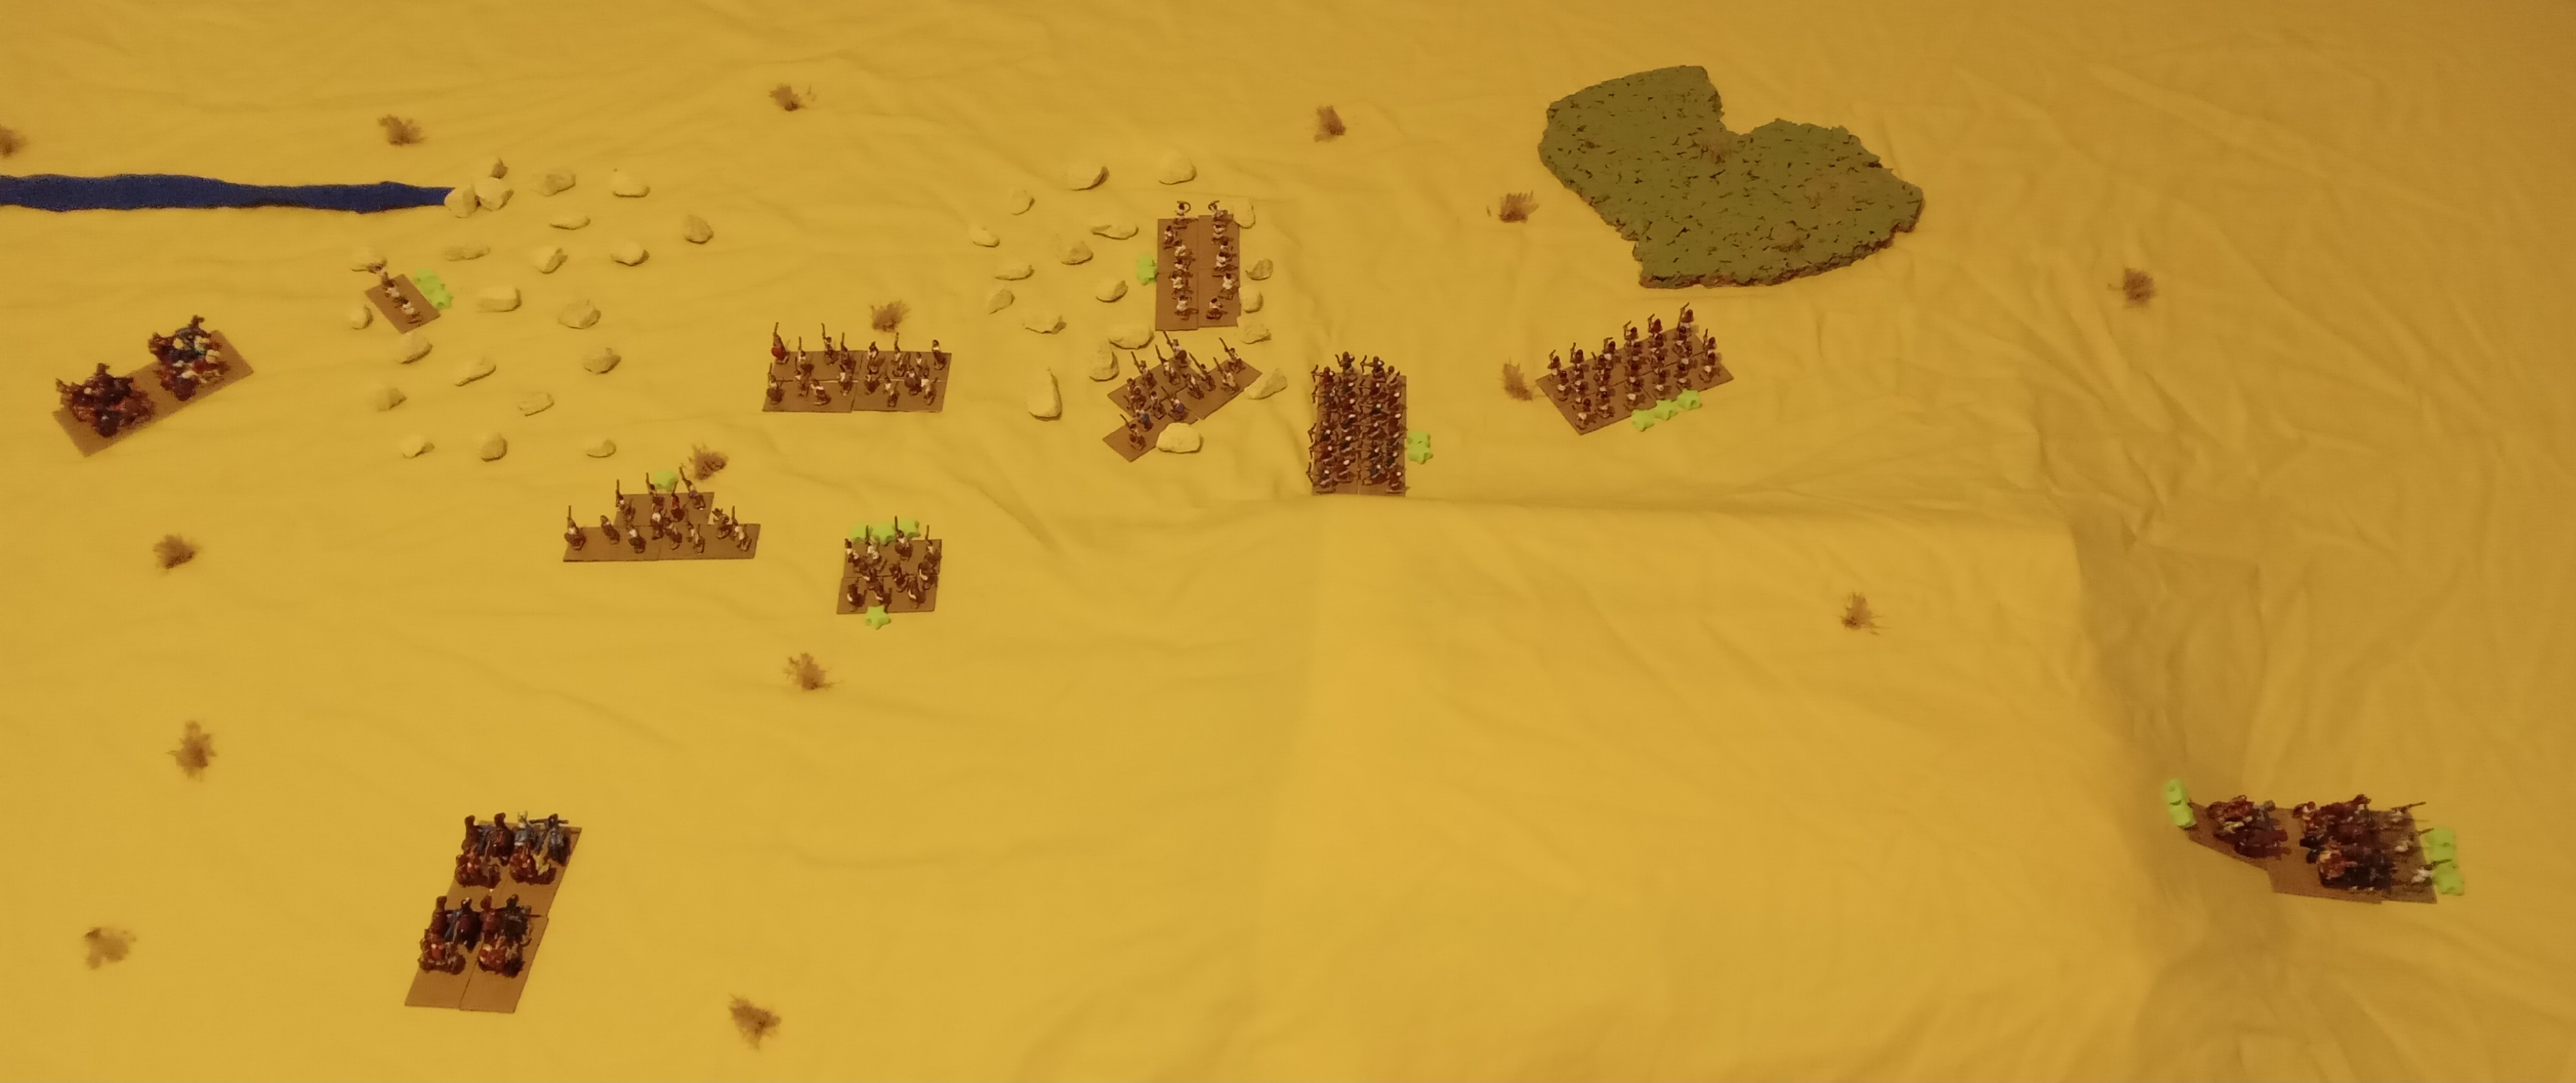
HebrewsThe one-base Benjaminite slingers fall back to near the source of the river, presumably to reduce the chance of being attacked and eliminated.
The four-base band of auxiliaries moves away from my royal chariots, and the four-base Benjaminite slingers approach the melee involving my marine archers.
The auxiliaries, charged last turn in the flank by my central chariot squadron, are able to turn and flight the melee on more-equal terms as they are not otherwise engaged in fighting. My chariots roll one die per base as they no longer get bonuses for attacking from the flank and for being chariots in the first round of a melee. They score one hit, but the auxiliaries, thanks to fighting light chariots, get three dice for their one base, scoring two hits. However, I save both of them.
Both sides in the one-on-one melee score a hit, but my marine spears save theirs, while under totting up the Simeonites are eliminated, at last bringing the melee to a close.
Finally, my three-base marine archers roll a miserable 2 and two 1s, while their one-base auxiliary opponents, with two dice, roll an equally useless 3 and 1.
 |
| The writing seems, to paraphrase the Bible, to be on the wall for the Hebrews |
EgyptiansI declare two charges - by my recently victorious marine spearmen against the flank of the four-base auxiliaries, and by my royal chariot squadron against the same target.
The chariots could not have held off and fired at the auxiliaries as they would be shooting into a melee, and we agreed that such shooting should not be allowed unless carried out from the opposite side of the melee to that on which friendly troops were engaged.We fought the flank attack first. The spearmen are biblical infantry, which means they receive one die per base, but receive an extra die for attacking in the flank. I roll two 1s, while the auxiliaries roll two 4s, 3 and 2, meaning two hits. Neither hit is negated (I roll another pair of 1s as saving throws), meaning the spearmen are a hit away from elimination.
The royal chariots get eight dice (the normal one-per-base being doubled thanks to being chariots in the first round of a melee), and they score five hits. The auxiliaries, receiving three dice per base against light chariots, score six hits. Light chariots have a saving throw of 5+, and I manage to negate two hits, but still lose a base. Being elite, they pass a morale test with a throw of 3+, which I easily achieve. Auxiliaries need a saving throw of 6, but Reg fails to save even one. Since the unit had previously accumulated three hits, it loses two bases. That requires two morale tests as the rules state: "For every base removed, the victim must roll a die." The auxiliaries are average troops, and so need 4+ as a saving throw. Reg rolls 5 and 2, so another base is removed.
My other chariot squadron advances to the edge of the hill, from where it can shoot at the four-base Benjaminite slingers, scoring one hit. However this is cancelled by Reg rolling the necessary saving throw of 6.
My regular archers stand still.
In the melee between my central chariot squadron and the one-base auxiliaries, I get one die per base, and score one hit, which is not saved. The auxiliaries get three dice for their one base, scoring two hits. One is saved, but under totting up my unit loses a base and, despite being elite, their morale fails them, causing another base to be removed.
Finally, my marine archers score a hit in their melee, but suffer two when Reg rolls a pair of 6s (auxiliaries get two dice per base in hand-to-hand fighting against close-order archers). To add insult to injury, Reg rolls another 6 to negate the hit on his unit.
 |
| Four of the five surviving Hebrew units are down to a single base |