 |
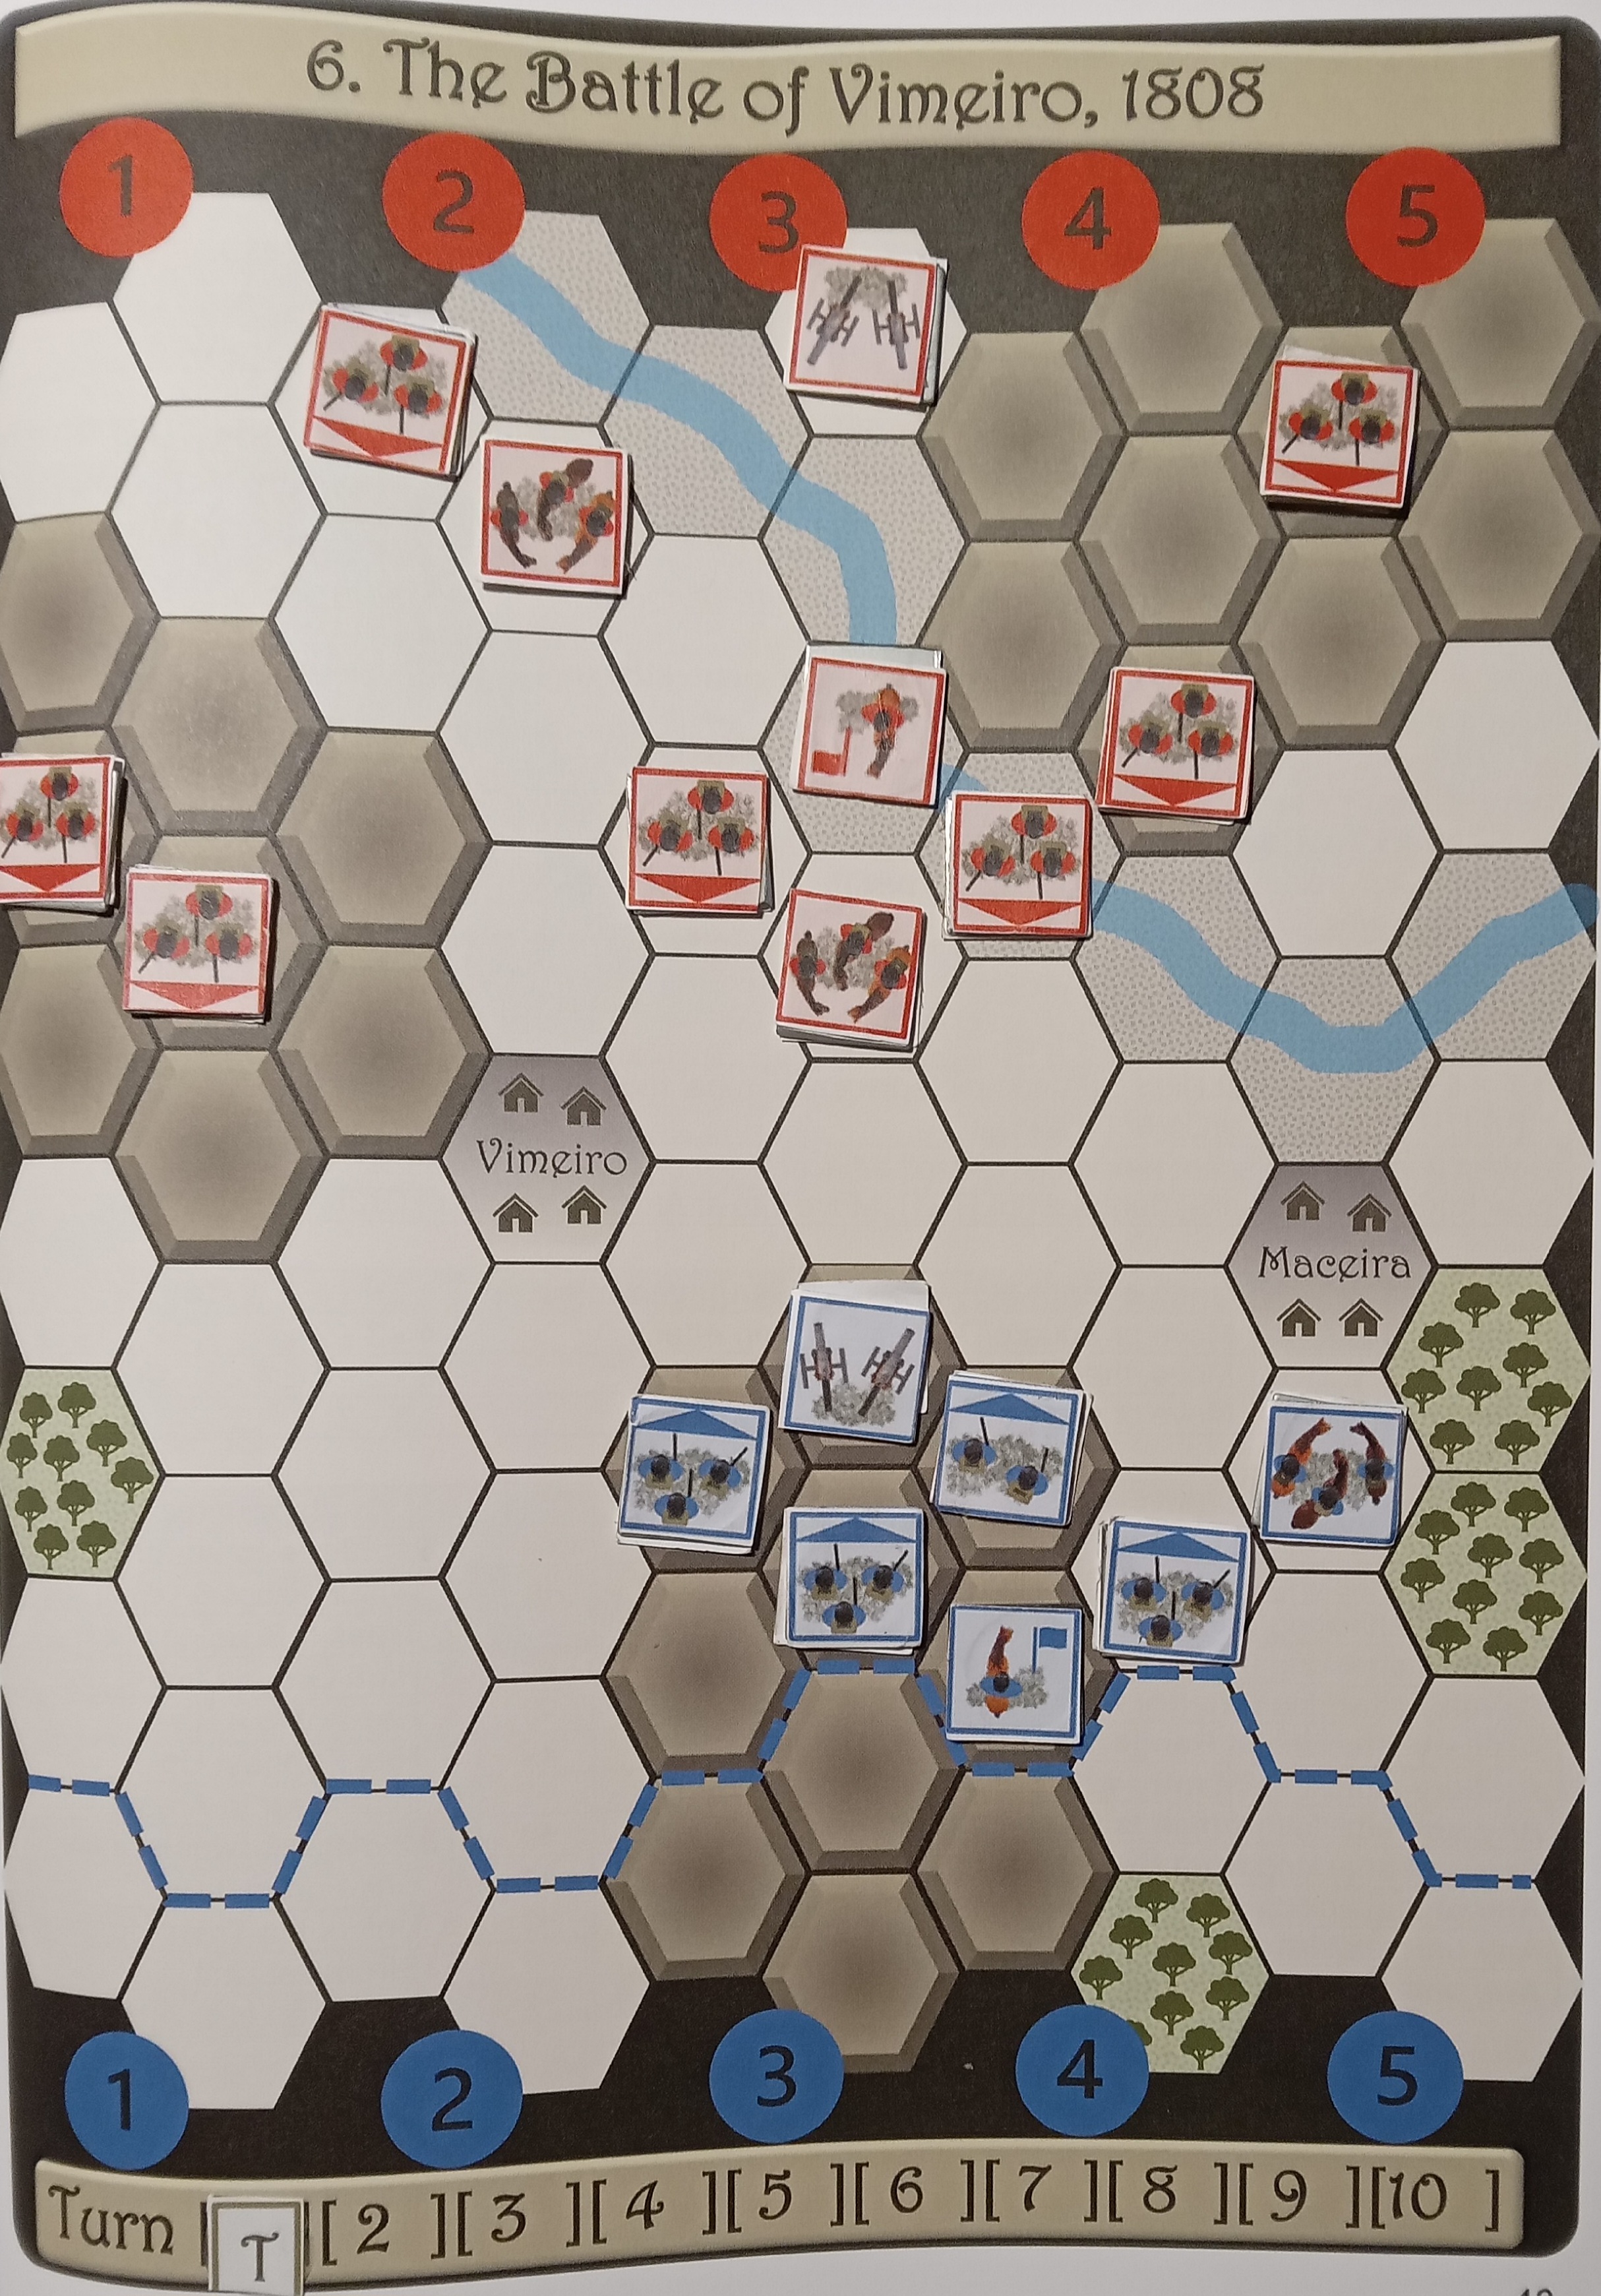
| Situation after turn three |
My artillery fire at the three-strength enemy to their front. Their three dice are increased by one for being on higher ground and for being adjacent to General Junot, and by two for firing at close range (I could fire at Sir Arthur Wellesley instead, but with the number of dice I am getting that would be overkill, and on balance I think it is more important to eliminate a full-strength enemy infantry unit, especially as killing the Allied commander would open a shooting lane for the Allied artillery). However my decision backfires when I roll 6, 4 and five 2s, meaning the Allied infantry unit is only reduced to two-strength and falls back onto higher ground.*
My forward infantry in area 3 advance and fire at Wellesley. Their three dice are decreased for firing after moving, and I roll 4 and 2, forcing the general back a hex. Junot occupies the hex just vacated by my unit, and then the backward infantry in area 3 descend from the hill and fire at the enemy lurking behind Vimeiro. Their four dice are decreased for firing after moving, but increased for being next to the commander, and I roll two 5s and two 2s, reducing the enemy to one-strength.
My right-flank infantry advance and fire at the enemy opposite them, their four dice being reduced for firing after moving. I roll 5, 4 and 3, reducing the enemy to one-strength and forcing them back a hex. My one-strength infantry advance and fire at the enemy opposite them, their two dice being reduced for firing after moving. I roll 5, reducing the Allied unit to one-strength.
My cavalry fall back a hex.
*Artillery can only fire along a direct line of hexes, rather than across hexes, so, as I later realised, my artillery's only legitimate target was the Allied commander.
 |
| The Allies are being forced back, except on their right, but will I regret not taking the chance to kill Wellesley? |
The right-flank infantry roll 5, meaning they want to move nearer to the nearest enemy. The first tiebreak makes the target my infantry beside Vimeiro. Both oblique moves would take the Allied infantry nearer, but only moving obliquely forward takes them with range and line-of-sight of any of my men. From this position on the edge of Vimeiro Hill they fire at General Junot, a commander being their preferred target. Their three dice are increased for being on higher ground, but decreased for firing after moving. They roll two 4s and 3, sending Junot back to the edge of the battlefield - all in all a lucky escape for the general.*
Wellesley does not move as he cannot reach anywhere adjacent to more than the three units to which he is already next. The infantry in area 6 advance and fire at my infantry beside Vimeiro. Their three dice are reduced for firing after moving, but increased for being next to the commander. They roll two 4s and 1, sending my men back two hexes. The artillery roll 6, which means they again remain where they are as they cannot move straight down.
The infantry in area 5 advance.
*Another rules mistake - commanders are immune to retreat dice.
 |
| With both sides' cavalry playing limited roles, at least after the early elimination of an Allied cavalry unit, the armies are relatively distant from each other |


.jpg)


