IT is one thing painting figures, quite another getting the figures on the table.
However my regular wargaming opponent ('Reg') and I are in position to do just that.
We will be killing several birds, as it were, with one game.
1. Fielding some of my recently painted Assyrians, together with Bedouin camelry.
2. Using recently bought and/or painted pieces of scenery.
3. Trying the ancient rules from Bob Cordery's Developing The Portable Wargame.
4. Testing the suitability of my Hexon II gridded terrain for 10mm ancients.
Cordery's rules, including army lists and combat examples, take up almost 40 pages in his book, but are considerably simpler than this might suggest.
Infantry and cavalry are divided into light and heavy types, while chariots are "mobile platforms for missile-armed troops" that can also be used for "battering weakened heavy infantry."
The rules do not mention camelry, but I feel fairly confident in my ability to follow Cordery's advice and make up my own rules for them.
Accordingly camelry will have the same strength-point-value as light cavalry, ie two, but will move at the speed of heavy cavalry, ie three hexes.
They will have the same double-move capability as other light troops, and their bow range will be the normal three hexes.
Any cavalry or chariot unit in close combat while in a hex adjacent to camels will suffer a -1 modifier.
The battle will see an Assyrian force, with Bedouin allies, face an Egyptian army, and since I commanded the Egyptians in our
Biblical Dry Run battle, Reg has agreed this time he will play at being Pharoah.
We will each secretly choose an army with a maximum value of 40 strength points from a list that includes units of heavy infantry (4SP), slingers (2SP), javelin-armed light infantry (2SP), chariots (2SP), heavy cavalry (3SP), camelry (2SP), close-order archers with heavy armour (4SP) and close-order archers with light armour (3SP).
In addition each army must have a commander, whose notional strength-point-value of six is important for calculating when an army becomes exhausted, after which it can no longer take offensive action.
Here is my army.
Commander = 6pts
Heavy Infantry* x2 = 8pts
Close-Order Archers (heavy armour) = 4pts
Heavy Cavalry = 3pts
Bedouin Camelry x3 = 6pts
Chariots x4 = 8pts
Light Infantry (slingers) x2 = 4pts
Total: 39pts
Reg has revealed his choice as follows.
Commander = 6pts
Heavy Infantry x4 = 16pts
Close-Order Archers (light armour) x2 = 6pts
Chariots x4 = 8pts
Mercenary javelinmen x2 = 4pts
Total: 40pts
*The Assyrian heavy infantry are professional mixed units of spearmen and archers. They can shoot, but also enjoy the +1 modifier of heavy infantry in melees.
Each unit has the same number of bases as it has strength points, so heavy infantry (4SP) have four bases, while slingers (2SP) have two bases.
The exception to this rule is commanders, who are represented by a single base.
Each player can name two units as being elite (their strength-point-value is increased by one), and must designate two units as poor (their strength-point-value is decreased by one).
Elite units will be indicated on the table by having a small rock placed at the front of the hex they occupy, showing their SP is one more than the number of bases.
Poor units will be indicated on the table by having a small rock placed at the rear of the hex they occupy, showing their SP is one lower than the number of bases.
I have given elite status to two squadrons of chariots, while designating two of the camelry units as poor.
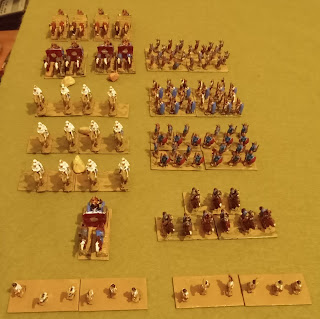 |
| Assyrian army - 13 units, plus the commander |
Reg announces two of his chariot squadrons are elite, and the javelin units are poor.
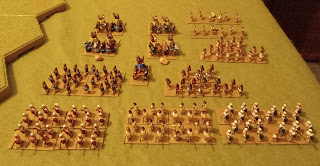 |
| The Egyptian army consists of 12 units, plus Pharoah in a blue - the colour of Egyptian royalty - chariot |
 |
| An elite Egyptian chariot squadron deployed on the table |
Note that strength points are not an indication of a unit's fighting ability, but rather how many hits a unit can take before it is removed from the table.
This is particularly to be remembered in the case of an army general, who is rated as 6SP but has no offensive capability by himself.
However, if in the same hex as a friendly unit, the general gives a +1 modifier to the unit's combat-dice throws. But there is a drawback - if the unit is eliminated, the general goes with it.
What the rules do not state is what happens if an enemy unit can shoot at an enemy general, or engage him in hand-to-hand fighting, when he is alone in a hex.
We have decided that if a commander suffers a hit, it is resolved as for a hit on an elite unit, but only one hit will be needed to eliminate him, although his loss will cause his army to lose six strength points (and so bring it much nearer to exhaustion).
The basic battlefield is formed of 12x10 Hexon II hexes, each 100mm across.
 |
| The battlefield is mainly a cultivated plain, with two bare hills, a small town with an orchard, a village and a three-hex patch of rough ground |
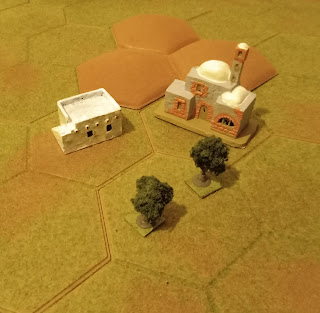 |
| Close-up of the town - the main building came from the Christmas decorations section of a Chinese store in Altea, Costa Blanca (inside the packet, along with what may be an anachronistic mosque, were a giant hen and chick, the adult being taller than the building!) |
We diced for choice of baseline, Reg winning 4-2 and choosing the side nearer the camera.
Normally we each draw a sketch map of our planned dispositions, but with hexes it is easier to number the hexes and assign units accordingly by writing down a number for each unit.
We agreed that all units must start in the first two rows.
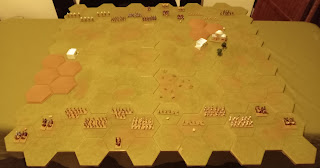 |
| Overview of the battlefield, with the Egyptians nearer the camera |
One of the first things that springs to mind - to me, anyway - is that, thanks to the hex system, the battlelines are not exactly straight.
Perhaps this does not matter overmuch, but Reg and I have agreed that next time we we might try turning the battlefield 90 degrees.
But there are problems with doing that.
For starters, troops would not move directly forward, but rather in a sort of zigzag, and there would be difficulties in lining up opposing units for melees.
It is certainly something we will have to give serious consideration to before coming to a final decision.
Returning to the battle, and before it commences, there is the question of terrain effects.
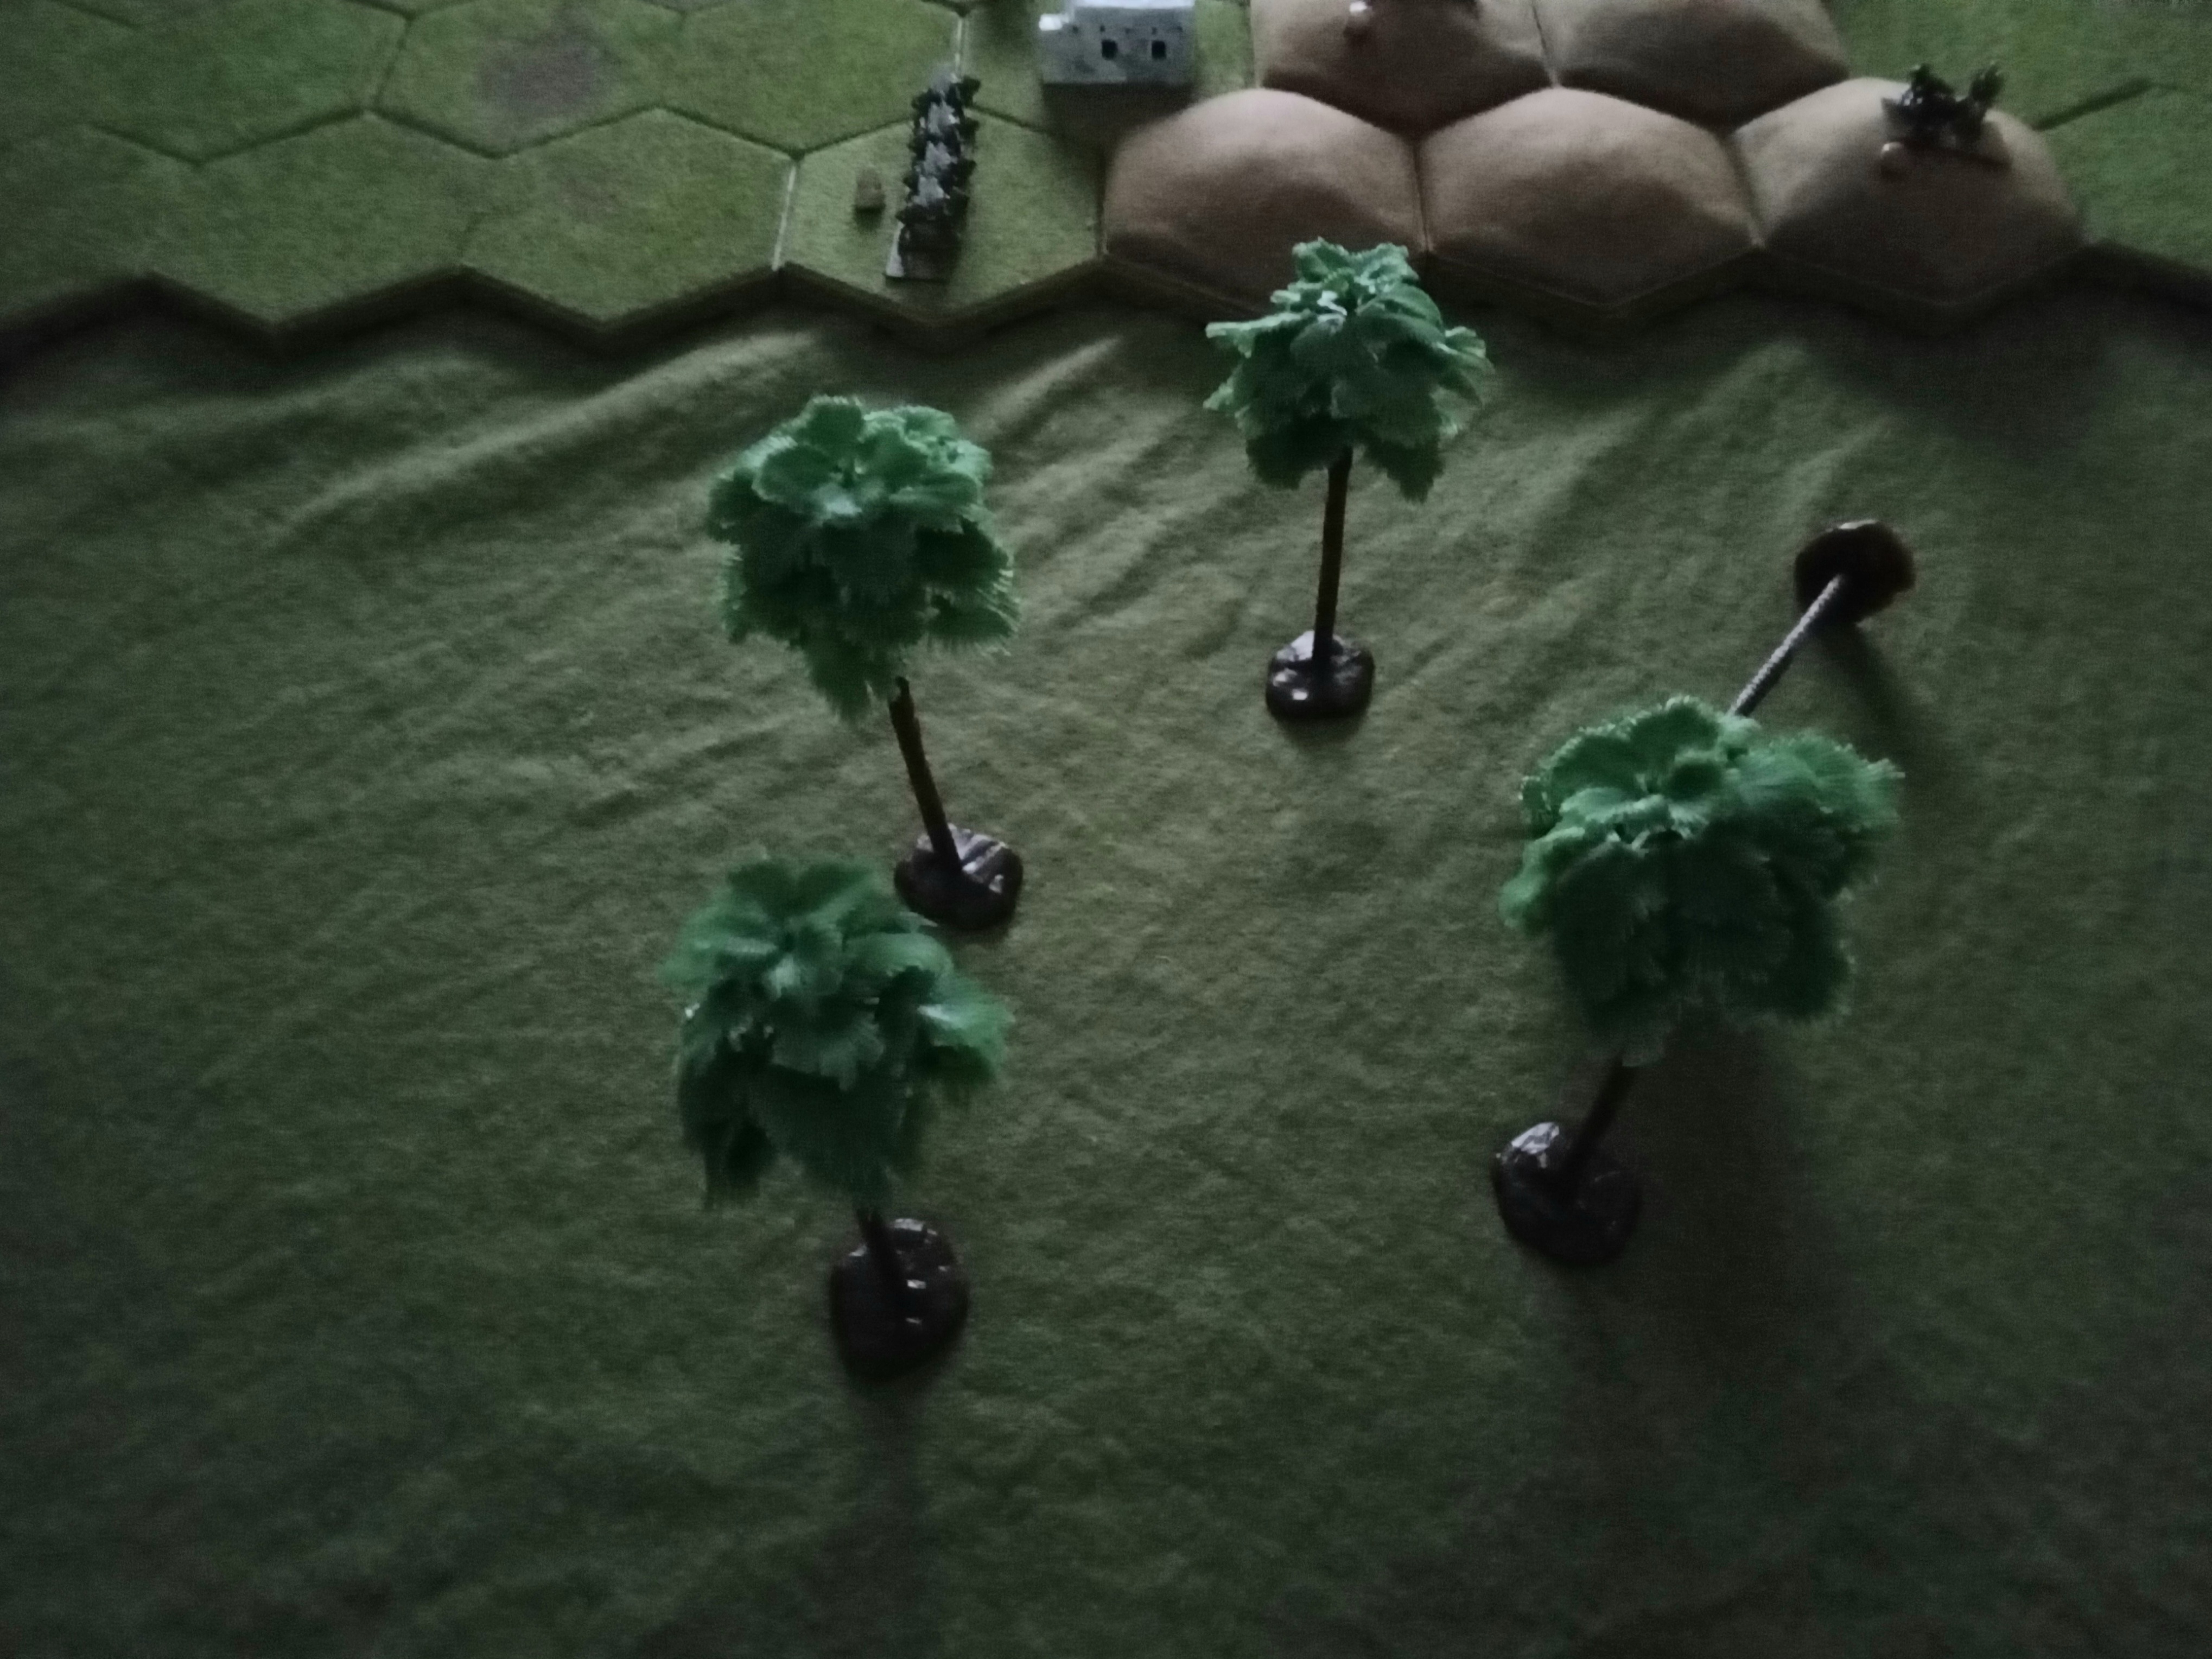
Built-up areas, woods (an orchard in this case) and hills are covered in the rules, but rough ground is not mentioned.
We will treat it as a wood for movement purposes, meaning only light infantry (and, theoretically, light cavalry, not that either side has any) can enter it.
A unit entering the rough ground must immediately stop, and can only move a single hex while in it, but there is no reduction to shooting ranges. Rough ground does not count as cover, and there is no -1 modifier for close combat.
 |
| View from Pharoah's chariot |
 |
| Close-up of the Assyrian centre |
As usual I will write up the battle as it unfolds.
.jpg)
.jpg)


.jpg)


